15 Tips on how to arrange wall art
Previous post
The Ultimate Guide to Finding the Best Workout Clothes for Women: Look and Perform Your Best!

Arranging wall art is akin to crafting a visual symphony. Here’s a detailed breakdown in 15 steps: Transforming your walls into captivating artistic displays is an art in itself. Discover the intricacies of arranging wall art with finesse and creativity. From defining focal points to balancing symmetry and asymmetry, explore steps to curate stunning gallery walls. Uncover insights on color coordination, frame diversity, and incorporating diverse elements like mirrors and shelves. Delve into wall material awareness, suitable hardware choices, and the patience needed for this artistic journey. Embrace this guide to elevate your space and infuse it with your unique style and personality.
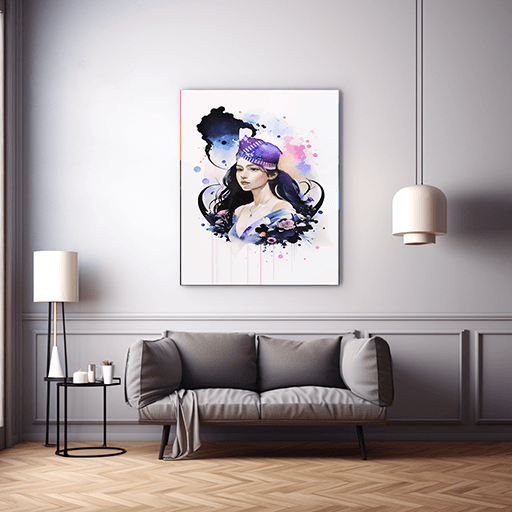
Defining the Focus: Start by envisioning where the eye-catching center will be. Whether it’s above the sofa or transforming an entire wall, this spot sets the stage for your art ensemble.
Furniture Placement: Before marking spots on the wall, ensure your furniture is in place. This prevents clashes and helps maintain harmony between the art and surrounding elements.
Layout Exploration: Dive into the world of possibilities – symmetrical or asymmetrical arrangements, playing with sizes, styles, and the number of pieces.
Choosing Symmetry or Asymmetry: Symmetrical layouts exude elegance with similarly sized and themed artworks. On the flip side, asymmetry offers freedom, allowing different-sized pieces to harmonize creatively.
Harnessing Odd Numbers: Odd numbers are your ally. They infuse vitality into the arrangement, providing fluidity in placement and composition.
Eye-Catching Heights: The focal piece should ideally align with eye level. Yet, for spaces like dining rooms, adjust the placement considering the seated perspective.
Color Coordination: While not mandatory, a cohesive color palette can tie diverse pieces together. Seek common hues across artworks for a unifying effect.
Consistent Artistry: If not unified by color, consider cohesive art styles or themes. This could be through textures, designs, or a shared artist’s signature style.
Frame Diversity: Experiment with frames to introduce depth. Mix sizes, colors, and textures to accentuate individual pieces while contributing to overall coherence.
Diverse Additions: Think beyond traditional framed art. Integrate mirrors, baskets, or even hanging lights to add texture and dimension.
Shelf Statement: Not limited to walls, shelves offer an alternate canvas. Strategically layer art pieces, pottery, and other items for a captivating display.
Precision with a Level: Precision matters. Use a level and painter’s tape to ensure alignment. It’s the foundation for a polished finish.
Wall Material Awareness: Understanding your wall material is crucial. Different materials demand varying hanging techniques to ensure your art stays secure.
Appropriate Hardware: Choose hardware that suits both the wall material and the weight of your artwork. Heavy items require sturdier support.
Embrace Patience: Rome wasn’t built in a day, and neither is a perfectly curated gallery wall. Take your time, explore options, and enjoy the process.
Each step is a brushstroke in your masterpiece, allowing your creativity to flourish and transforming your space into a reflection of your personality and style. Dive into the process, savor each decision, and watch as your walls come alive with artistic allure.

